Grading tips?

yoderjac

Well-Known Member
I bought a JD 35g mini excavator a couple years ago. I've used it for habitat work and some driveway and logging road maintenance. I've got 2 projects I'm working on.

Driveway:

When the driveway was initially roughed in, I hired a dozer operator. He put in the major culvert pipes but did no real sloping of the road. The ground is fairly flat in general in this area. He worked with DOT for the connection to the public road and that is pretty sound. It has crush stone (78s I think) for the 1st 100 feet. It has crush-n-run right where it hits the public road. All of that is good.

As we get further down the driveway I had standing water which was destine to become mud holes. I cut a large swale ditch along the low side to direct water to a drain area. I then either sloped or crowned the road. I now have good drainage in general, but over time found an issue that needs addressed.

The property on the high side has large ditches perpendicular to the driveway that fill up with water in heavy rain. They end about 10' from the driveway. Most of the time, everything is fine, but when we get several days in a row of significant rainfall, water is oozing out of the soil and trickling across the road in several places. If I don't address this, I'm afraid that in the long run, no matter how I finish the road, there will be a problem

Since the road is pretty solid in general, rather than adding several more culverts, I plan to try to use a combination of a transport pipe, French drain, and ditching to send the water parallel to the road to an existing culvert pipe under the road.

While the area is flat in general, it does undulate a bit along the run of the road. So, I decided to invest in a rotary laser and combo detector. This will be my first time trying to use a rotary laser level.

The area near the culvert pipe is high ground with no runoff issues across the road. Next is and area at the end of one of the ditches and is where I'm getting my primary water issue. Then there are non-problem areas until we get to the next ditch.

I have not been out with a grade rod yet, so I don't have a detailed plan. My general plan is to use the laser and excavator to dig a ditch from the bottom of the culvert on a 1% or so slope along the road. My thought is to just run a pipe along the ditch in that first high ground area to save money. I'd then put a french drain in along the problem area and go as far as I can (give the grade) to some low spot where I can put in a catch basin. From there, I hope to be able to just trench along the road to direct and water further down to the catch basin. I may or may not need to do one more culvert but I hope not.


Camp Area:

When we had a recent timber sale, we had them clear-cut around camp. I have been pulling stumps for a bit. The next part will be to do some rough grading. There is a slight slope in away from our camp road here (which is good), but there are a lot of pockets and low spots where stumps were removed and filled in and sank over time. It was finally dry enough last weekend for me to disk the area so it should dry out enough for me to begin grading

I have a tractor and box blade and the mini excavator to work with. I can bucket grade with the excavator using an inclinometer in the cab. I just turn it 90 degrees and use the blade to set an angle. It works, but it is a very slow process and I have about 1/2 acre to do. I think a box blade will probably be my best bet, at least for the initial part. I'm wondering if I could weld a pipe on to the blade of the excavator and put the laser detector on it and somehow use the laser.

Details:

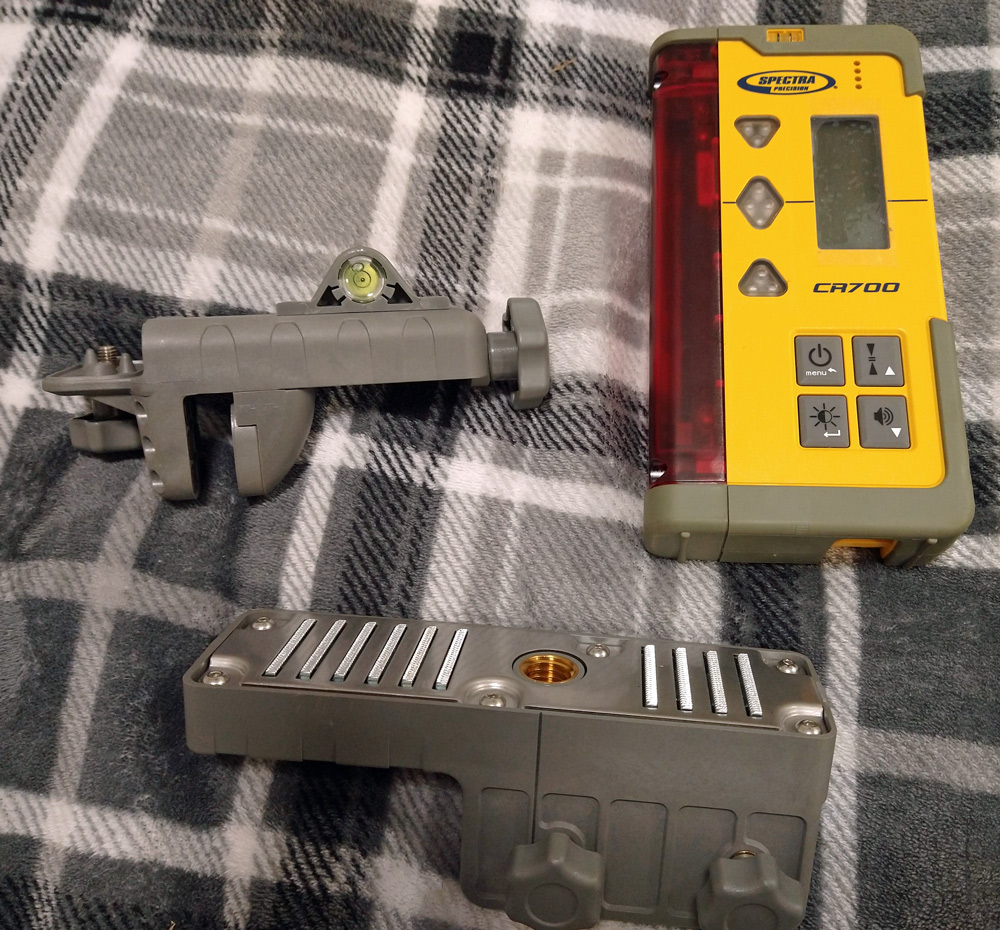
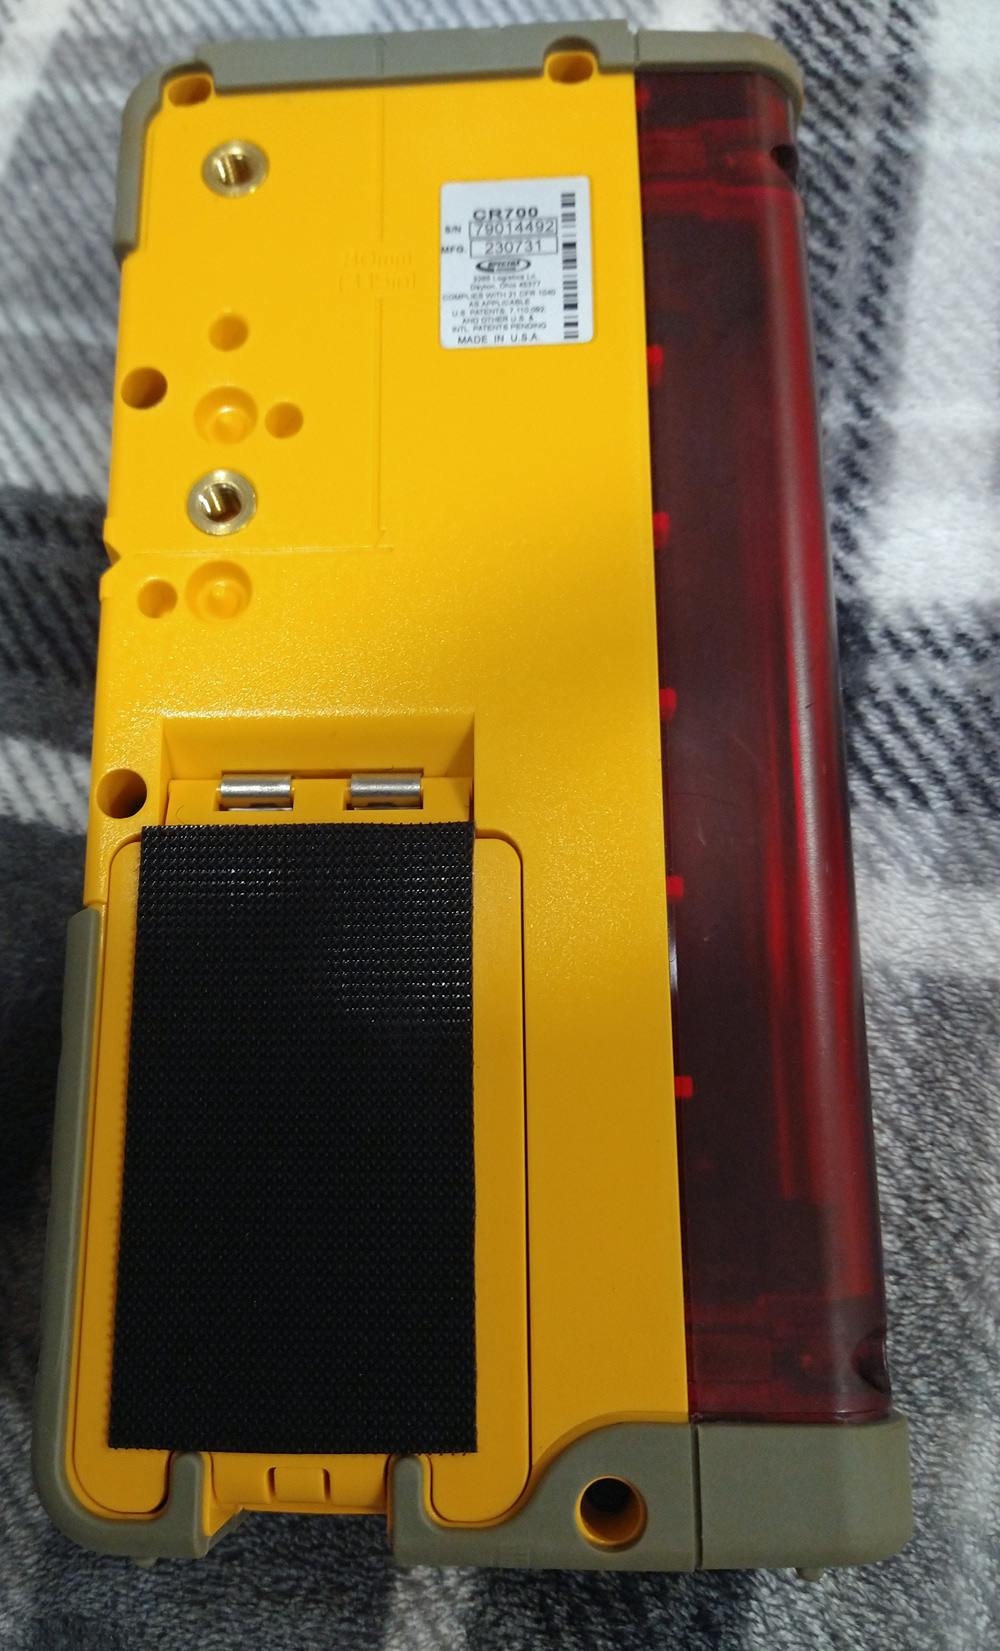
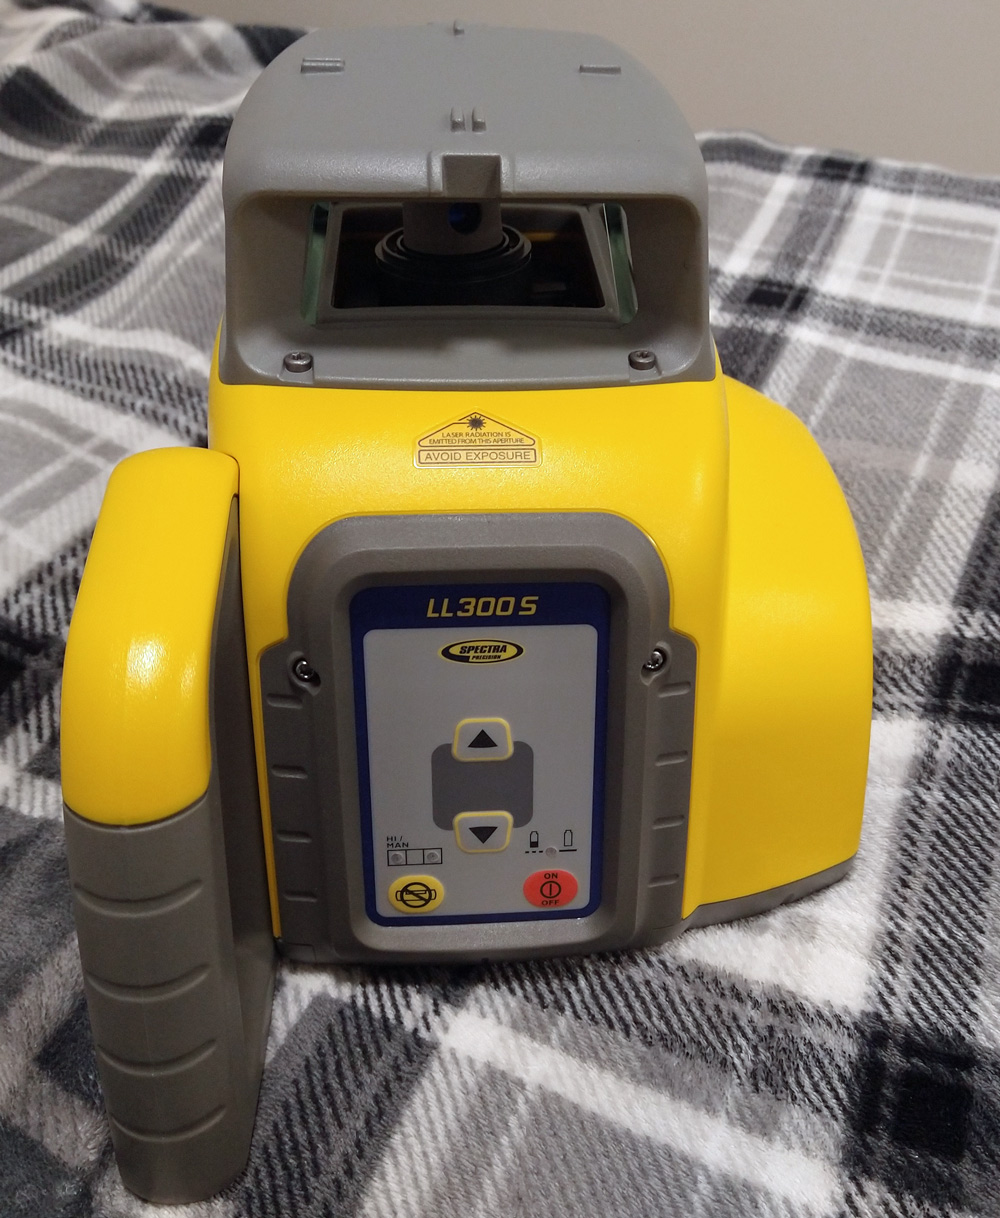
The laser I got is a Spectra LL300S ( it has manual slope that I'll need for the trench). The receiver is a Spectra CR700 Combo receiver that I can use on a rod or my machine.


I would appreciate any pointers or suggestions any of you might have. I'm fair operating the 35G. I have about 500 engine hours in the seat, but I don't do anything fancy like try to use the foot pedals to move it while operating the boom with my hands. I have a 1 foot, and 2 foot digging buckets for it and a 3' grading bucket. This will be my first attempt with a laser level for grading.
 
Looks like I'll have the equipment in hand tomorrow to play with. Just thought I'd bump this hoping some of you construction guys might have some tips.
 
Well Jack, I made my living many years running dozers, hoes, motor graders, etc. , but I don’t have any advice. Mine was done by eyeball and the seat of my pants for the most part, and then checked with a level. If it wasn’t quite right, the level told me what to do to fix it. Good luck !
 
Yep. If I was more skilled and experienced, I probably try the seat of the pants method. My neighbor is a contractor and he has a backhoe. Before I got the excavator, he dug the trench for power to my property through the woods from another neighbor. I was amazed. His trench was almost perfect flat bottomed with a very consistent depth by eyeball. Every now and then, he would have someone from his crew take a measurement, but he was always spot on.

Of course, digging a consistent depth is different than trenching so the bottom is on a constant slope on uneven ground. I mostly work alone. I figured that without help, I'd constantly be getting off the machine and dropping a level down the trench.

It is going to nee to be fairly precise too. Given the topography, I'll need to keep it close to 1% to go the distance I need to go. If I'm much steeper, I'll be out of the ground before I get the distance I need.

Tomorrow, I'll get out there with the laser and grading rod and do some planning. When I get that data, I'll know how precise I need to be. This will likely be some combination of a transport pipe, French drain, and surface trenching.

Thanks anyway.
 
You might get you a bundle of 1x2 stakes about 18” long and stake out your work area. Get something to mark on them with, like lumber crayon. Shoot your grade after you make your plan and mark your cuts on the stakes. That will give you someting to go by when you’re in the seat. Stake it out every 25’ if you need to, or even closer if necessary. Write the cuts on each side so you can see them going and coming. We always worked in tenths of a foot, but inches might fit you better.
 
You might get you a bundle of 1x2 stakes about 18” long and stake out your work area. Get something to mark on them with, like lumber crayon. Shoot your grade after you make your plan and mark your cuts on the stakes. That will give you someting to go by when you’re in the seat. Stake it out every 25’ if you need to, or even closer if necessary. Write the cuts on each side so you can see them going and coming. We always worked in tenths of a foot, but inches might fit you better.
I was hoping to avoid that with the CR700 since I should be able to tell when my bucket is on grade from cab. Maybe I still need to use the stake method in addition...
 
Well, I got my first opportunity to play with the equipment today. I did nothing but set up the level and take some reading with the grading rod. It looks like my plan A is not realistic after doing the math.

I came up with another idea. I think that rather than putting in a French drain to catch water when the ground between the holding ditch and my road fills up, I'll keep it from filling up. I've got enough room to put a pipe with a 1% slope between the ditch and culvert. Hopefully that will take care of the first and biggest problem area.

It looks like I do have enough slope to put another small drain across the road to take care of another ditch.

Next week, I'll bring the 35g over and get started.
 
One of my concerns is knowing when my stick is plumb for measuring grade with the laser detector. I got an inexpensive little gadget today that should help with that. It is a WitMotion accelerometer and inclinometer. It is about 1" square and less than 1/2" deep. It has bluetooth and can broadcast to an app on my phone.

I plan to attach it to the back of my CR700. I will be able to see the angle of my stick on my phone in the cab. Hopefully, this will make it easier for me to read grade.
 
Here is a picture of it:

830bccfe-3895-4c43-a252-2eb2856ac54e.jpg
 
I’m old school Jack, I wouldn’t even know what to do with that. The operators that are in the oilfield these days, commercial work too, have GPS on their machines that the grade is programmed into. They just drive the machine and the computer does the work. Only problem is, when the computer goes out, they can’t actually “run” the machine because they never have. My son and a guy that used to be one of my foremen keep me in touch with the new stuff. It has changed so much since I retired from consulting several years ago I wouldn’t even know what to do. 😖
 
I know what you mean. All that high tech is beyond the reach of a prosumer. I was looking for sort of a poor-man's version. When you don't operate equipment on a daily basis for a living, you don't develop fine skills. I was looking for a crutch to compensate for my lack of skill. I think the rotary laser I got is only one step up from the basic stuff. It allows you to match grade. You set it up in auto leveling mode and sight along the trench line. You use a grading stick to measure level at your starting point. You then go to the end point and measure to the level. If you know what slope you want, with a little math, you can figure out where to put the detector on the grading rod at the end point to get the grade you want presuming you know the distance between the 2 points. You can then put he laser in manual mode. You have up an down buttons that tilt it on one axis. (Expensive grading models will let you grade in two dimensions but I don't need that). You just push the tilt button until you ring the detector at the end point. The laser is now providing leaning at your desired grade at that level.

I then go to the starting point and attach the laser detector to the stick on my excavator with the stick vertical and the bucket in a repeatable position. You put the detector on the boom so it is rung by the laser. From then on, I just dig the trench. I can then check grade without leaving the machine or having someone checking with a grade road (who I could hurt with the bucket). I just put the bucket in the repeatable position and make the stick vertical (with the gadget in the previous post). When the laser rings, the bottom of the bucket is on grade.

Well, that is the theory. We will find out later in the week if it dries up how well it works for me in practical terms.
 
I understand your method now, and it will probably get you real close. On storm sewer we used a lazer to dial in the slope, and a piece of plexiglass on a rod with a horizontal line on it with a guy holding it in the ditch. The dot on the glass could be seen from both sides so the operator could tell if he was on grade. You’re cutting out the middleman !😁
 
Yep, that is the hope. I often work alone, so getting off the machine every few feet to check with a grade rod would be a real pain. Even if I had help, I'm not comfortable operating with anyone close to me. I'd have to disengage the controls with every check with a helper.

The problem here is the lack of natural grade. It means I need to be pretty close on slope.
 
It was too wet to start my first project trenching between a ditch and a culvert as the ditch was still full of water from the last rain. I decided to work on the second problem area. Here, I was just planning to dig a trench and put a 4" corrugated pipe under the road with a catch basin on one side. The road was dry as was the area where the catch basin would go.

The level and detector worked well. Here is how I used them.

First, I set up the level in automatic leveling mode, pointing it across the road toward the future location of the catch basin.

I then put the combo detector on a grading rod and took an elevation measurement at the spot where the pipe would end. That was 43.375" below level.

Next I took a measurement at the catch basin location on the far side of the road. It was 39.5 inches below level.

It is 7.5" from the top of the catch basin to the bottom of the pipe connection. When I account for that, with the catch basin level with the ground, I have 5.875" of drop to work with .

Next I measured the distance across the road from the end of the pipe location to the catch basin and got 24' or 288".

So, for a 288" run, a 1% slope would be 2.88 inches. Since I had 5.8 inches to work with, I rounded up to 3" which will give me a grade a little more than 1%

Here is the cool part of using the laser:

Next I pounded in a 30" piece of rebar and attached the grade rod to it so it was standing vertical. I put the detector on it and verified the original measurement of 39.5". I then moved the detector up the rod 3" above that.

I then went back to the level and changed it from automatic mode to manual mode. It has up and down buttons on it so you can angle the y-axis in manual mode. I simply hit the up button until the detector started ringing again. I now know the laser is angled at the slope I want it.

Next, I put the machine bracket on the combo detector. I took the WitMotion inclinometer and used cable ties to attach it to the back of the combo detector. I then turned on the WitMotion and connected it to my cell phone via bluetooth.

Next I moved the excavator so it was facing the laser with the bucket fully extended so the teeth were pointed down. The stick was not vertical, but instead at a good working distance for raking.

I then took the detector with the machine magnet attachment and held it next to the stick so the detector was vertical, not the stick. When I got it to ring on grade, I let the magnets attach it to the boom. So now, when the teeth touching where I want to pipe to end and the detector vertical, I'm on grade.

The way the detector works is that if you are too far off grade you get nothing. When you get in the general ball park (say going from up to down) the top blue light lights up. This indicates you need to go lower. When you hit grade, the middle green light lights up. If you go too far down, the red lower light lights up. There are also different beeps for each of these conditions. You can set the tolerance for grade from .5 mm to 25 mm. I set it at 1.5 mm.

Trenching Approach:

Next I began normal trenching. I'd dig to a depth where the blue light went off on my first pass. I just backed up straddling the trench. Every now and then I'd check the depth by extending the bucket fully with the teeth down and adjusting the stick until the cell phone said the detector was vertical. I'd then look for the blue light to go off. Once I had removed most of the material from the entire trench, I moved back forward to where I started.

I made a second pass. With the unit set at a 1.5 mm accuracy it was hard to get it dead on. So on this pass, I was mostly raking. In order to keep the detector vertical, I had to use small rakes. I found it was actually easier to just put the bucket down and track backward to rake the bottom. I only moved the boom slightly to try to keep the bucket as close to grade as I could but in the blue, never in the red.

I then did something different on the final pass. I went back to the starting position, removed the detector, and curled the bucket. I sat it back down on the starting point. I reinstalled the detector on grade again with this new bucket position. I used the bottom of the bucket to repeat what I did on the 2nd pass, but went even slower trying to get even closer to the green. Any time I got a red light, I stop, lift the bucket, and reset it until I was in green or barely in the blue. I'd then continue slowly tracking backwards again.


Results:

The results of the trench were just about perfect. It was right on the grade I wanted. But, I did have a problem with something else. As I tracked back far enough to dig the trench to the catch basin, I got too close to the ditch behind me. Because the ditch was still full of water and the ground was saturated, My tracks left depressions and a lot of water began draining toward the road. I tried to begin grading around the catch basin, but I was just making a muddy mess because of that water. I stopped. I'll need to wait for things to dry out before I can grade so that water flows into the catch basin.

In general, I think this will be a good tool when grade is important. I'm glad I did this project first. The grade is less critical than the ditch-to-culvert project. We will see if it is dry enough be tomorrow afternoon to see if it is dry enough.
 
Yes, I think I figured out a way to work on the ditch to culvert even though the ditch is full of water. On the project I did yesterday, I started at the low end of he pipe and worked toward the high end.

I think for the ditch to culvert project, I can work it backwards. The culvert is dry, so I should be able to back into it. So, my plan for this one is to start at the high end and work toward the low end. But, since the ditch is full of water, I'll start a couple feet from the ditch and work back to ward the culvert. That should let me get 90% of the ditch dug with no water or mud. Once that is done, I finish the end at the ditch. Once it drains to the culvert, I should be able to install the pipe and fill in the trench.

I'll try to remember to take some picture of the setup. That should help if anyone else has similar drainage issues and wants to try a laser setup.
Pictures would be helpful !
 
Sorry, I got busy and forgot to take pics today. The project went very well today. No issues at all.
 
I took some pictures of the equipment today.

This is the CR700 Combo laser detector with the grading rod bracket and the magnetic machine bracket:

23008247-370b-4567-b1af-0a686c3d8de3.jpg


On the back of the CR700, I put a piece of industrial velcro over the battery compartment lid as shown:

ddaeeada-5279-4dee-a410-98e18b931533.jpg


I put the mating velcro on the back of the WitMotion inclinometer so I could attach it there.

Here is the self-leveling LL300S rotating laser:

cda11ef2-7023-4879-8006-128a468259e0.jpg


You can see it doesn't have many buttons or controls. It was pretty simply to use.

First, I put it on a tripod and leveled the tripod. I placed it just past one end of the trench location. If you look closely at the grey laser cover on top. you can see some sighting lines. I use those to point it over the trench location to the other end. I then simply turned it on an waited. It automatically self-levels.

I then attached the grade rod attachment to the CR700 and took grade measurements at both end of the trench. I also took a horizontal measurement of the trench location end-to-end. Knowing the length of the trench an the difference in grade between each end, I calculated how many inches the far end of the trench needed to be below level. Knowing this, I put the CR700 back at the level height for the far end of the trench and then moved it down that many inches on the rod. I then had my wife hold the grade rod vertically at the far end of the trench location.

I then went back to the LL300S an pushed the Manual Mode button. This turns off auto-leveling and activates the up/down buttons. I then pressed the down button and let the laser begin sloping downward. When the CR700 Blue light began blinking and beeping I know I'm getting close. I just slowly continued to adjust the laser slope downward until the Green on-grade light lit up and the blue light stopped flashing. The laser was now setup on-slope.

I then removed the grade rod attachment from the CR700 and put on the machine attachment. I positioned the JD35G straddling the trench location facing the laser. I completely uncurled the bucket so the teeth were pointed pretty much down but the bucket was completely uncurled so it was repeatable. I then positioned the stick so the bucket was in a good raking position. The stick was not completely vertical but it was fairly close.

Next I took the CR700 over to the boom. I held it near the boom in a vertical position. I raised and lowered it until the red and blue lights stopped flashing and the green on-grade light was solid. I then carefully moved it horizontally until the magnets grabbed the boom. I then turned on the WitMotion inclinometer on and connected it to the phone app via bluetooth. I opened the app and check the angle and it was close to vertical. I noted the number of degrees off vertical so I could put the stick and bucket in this same position.

I then dug the trench using the blue light as a stopping point. This let me remove most of the material quickly on the first pass. I made a second pass putting the stick and bucket in that same position from time to time to make sure I was on grade.

Sorry I forgot the pictures yesterday. I hope these plus the description makes sense.
 
Back
Top